Subscribe on youtube!
Buttermilk Quick Biscuits

It’s no secret that I like LOVE biscuits.
I have loved them for as long as I can remember. In fact, if I were in a prison that only offered biscuits and water, I would be good! Yes! I know, it’s supposed to be bread and water, but this is my blog post and I say it’s BISCUITS!
Anyhoo!
My mom taught me how to make these. This is how she always makes her biscuits. Somehow hers always seem to be better, but I guess everything is better at mom’s, right?
These little babies are not the pretty little things you get when you go to a restaurant. That is for another blog post.
However, these are the yummy little things you get when you have a hankering for some biscuits in a flash!
Only 3 ingredients! Now who doesn’t love that?
Here is what I did:
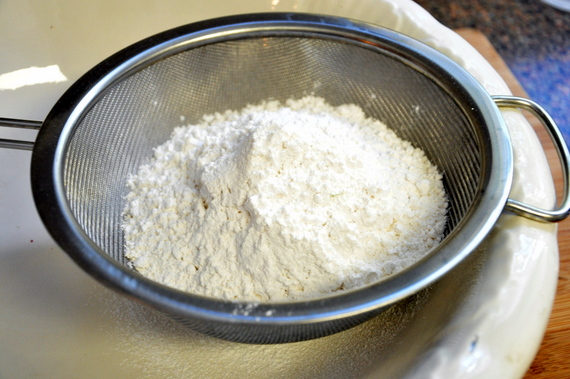
First, I sifted 2 cups of Self-Rising flour into what I like to call my “biscuit making bowl”.
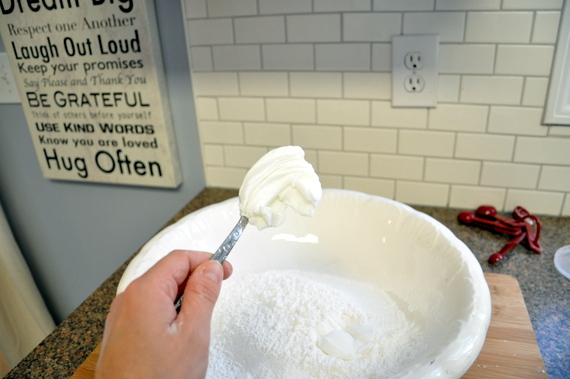
And then my mom would say, “Well, ya know! Just add enough vegetable shortening until your spoon mounds up!” This however, translates into 2 tablespoons of vegetable shortening. I used Crisco.
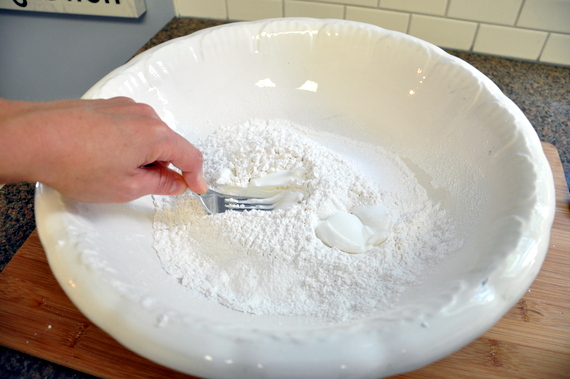
“Cut” in the vegetable shortening with a fork or pastry cutter. You can even use your hands if you like.
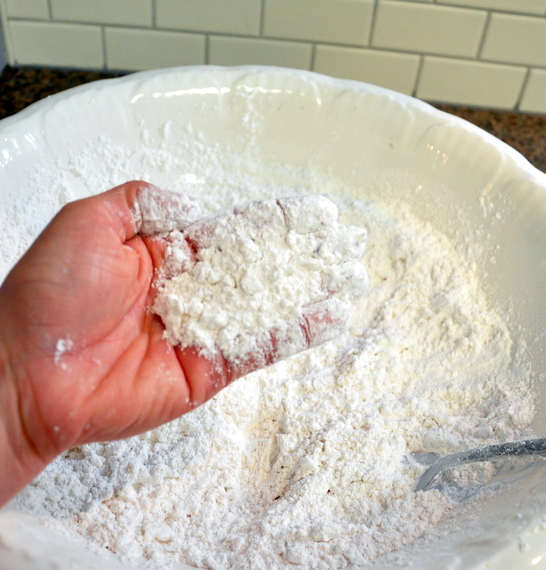
I did that until the mixture becomes coarse. (a couple of minutes) The vegetable shortening should be the size of peas.
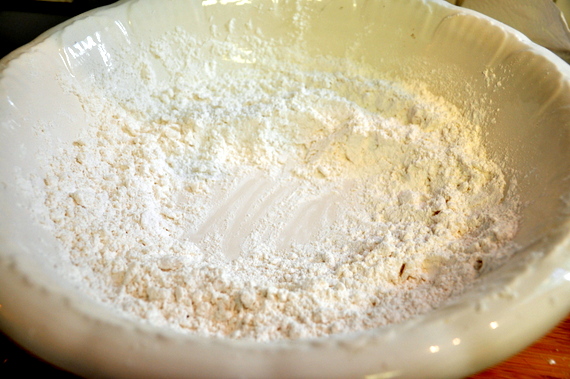
Then I made a well in the middle of the flour mixture.

Poured in a little buttermilk.

Now for the fun part! Start a mixin! You want to start folding the flour mixture into the buttermilk in the well with your hand, turning the bowl when needed.

Keep incorporating the flour.

Until it looks something like this. Dont worry. We aren’t finished yet!

Then I took my wood cutting board and floured the surface.

Sprinkled flour over the dough.

Turned the dough out onto the board.

Formed a circle out of the dough.

Floured my rolling pin.

And rolled out the dough to about a 1/2 inch thickness, starting from the center and rolling out.

Then I floured my biscuit cutter and started cutting out my biscuits.


I placed them on a cast iron griddle pan that I sprayed with a little Pam spray. You can definitely use a cookie sheet for this.

Then just pop them into a 450 degree preheated oven on the top rack. Bake for 12 -15 minutes or until golden brown.

Brush tops with melted butter.

Apparently, some think you can never have enough butter.

Oh! I almost forgot! These are definitely “KID APPROVED”!!!
Enjoy!
Recipe: Buttermilk Quick Biscuits
Ingredients:
– 2 cups Self-Rising Flour, plus extra flour for dusting
– 2 tablespoons vegetable shortening (such as Crisco)
– 2 1/2 cups Low- fat Buttermilk
Directions:
Sift the 2 cups of flour into a large mixing bowl.
Add the 2 tablespoons vegetable shortening and “cut” into flour until mixture resembles coarse pea size crumbles.
Make a well in the center of flour mixture and add buttermilk. Start to fold flour into buttermilk, turning the bowl as needed until mixture looks like “thick cookie dough”. Dough will be sticky.
Dust a clean flat work surface(I used a cutting board) with extra flour so dough doesn’t stick to board. Dust dough with flour as well and turn dough out onto board.
Form dough into a circle and press flat. Dust a rolling pin with flour. Roll dough out starting at the center of dough and working outward. Roll dough to a 1/2 inch thickness.
Dust a biscuit cutter with flour and cut out biscuits. *See note. Any scraps left over can be rerolled and cut out into more biscuits. Line biscuits on a sprayed cast iron griddle pan or cookie sheet and bake on the top rack of oven between 12 and 15 minutes, or until golden brown. Brush tops with butter. Serve with extra butter or jam (etc.) The possiblities are endless!
*You can even sprinkle the tops of these with cinnamon sugar after brushing with butter for a sweet treat or dessert.
*Note: If you do not have a biscuit cutter, you can use any circular shaped cutter such as cookie cutters or even the top of a glass. Make sure to dip into flour first so that it does not stick to dough.
Copyright © 2026 Everyday with Esther. All Rights Reserved.